

To avoid aches and pains in your neck, it is essential to position your computer monitor at the correct height. Straining to see your computer screen can lead to long-term musculoskeletal and eye complications. Mounting your monitor can help to optimise its position, free up desktop space and enhance the look and feel of your desk. Read on to find out more about monitor mounts and discover how easy they are to set up.
What Is A Monitor Mount?
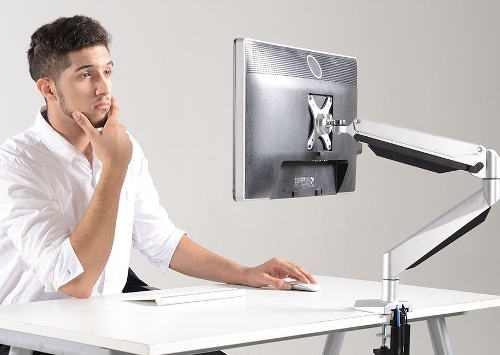
A monitor mount, sometimes referred to as a monitor arm or monitor riser, is a supportive bracket that holds your computer screen securely in an elevated position. They attach to the back of your screen and allow you to mount it almost anywhere - attached to your desk, wall or even ceiling. The majority of monitor mounts allow you to tilt or swivel your screen, so that you can easily adjust it to a personalised position. Monitor mounts provide a slick and sophisticated look to your desk while allowing you to fit your office equipment into a much smaller space.
Monitor mounts are available in a range of different styles, allowing you to decide which type of mount you want. You could opt for a freestanding mount, desk-based mount or a wall mount. When considering desk mounts, you may wish to choose one that clamps onto the side of your existing desk, allowing you to easily remove and relocate it without causing any damage to your desk. Alternatively, there are more permanent desk mounts which require a hole to be drilled into your desk but can accommodate much larger and heavier monitors. The choice is yours!
Choosing and Setting Up Your Monitor Mount
Check Sizing
Most modern monitors are VESA compatible, making them super easy to set up. What is VESA I hear you ask? Well, VESA (Video Electronics Standards Association) compliance refers to standards devised for the efficient mounting of flat-screen televisions and computer monitors. The guidelines include an industry-wide standardised "hole pattern" manufactured onto the back of compatible screens, allowing them to be easily mountable. As long as your monitor is VESA compatible, you just need to shop around for a good quality VESA compliant mount. If you have an older monitor, a cheaper monitor, or a monitor with a curved screen, it may not be VESA compliant. Don’t worry though, you will still be able to mount your monitor, you just need to buy a suitable adapter.
When shopping for your monitor mount, you will need to check the VESA dimensions of your screen. The VESA hole pattern can be one of several sizes, so identify the right one for your screen by measuring horizontally and vertically, from centre to centre of the VESA holes. When looking at VESA compliant mounts, they should all have the appropriate dimensions written clearly on the packaging.
Attaching Mount
So, now that you’ve chosen the perfect monitor mount, how do you go about setting it up?
How you attach your mount will depend upon the type of product that you have chosen. A desk clamp can simply be clamped onto the edge of your existing desk and tightened up using the provided screws or bolts. The monitor arm can then be attached once the clamp is secured.
An alternative desk mount, suitable for heavier screens, will require you to drill a hole into your desk and use a bolt through fixing method. If you have one, you can use your desk's existing built-in cable management grommet instead.
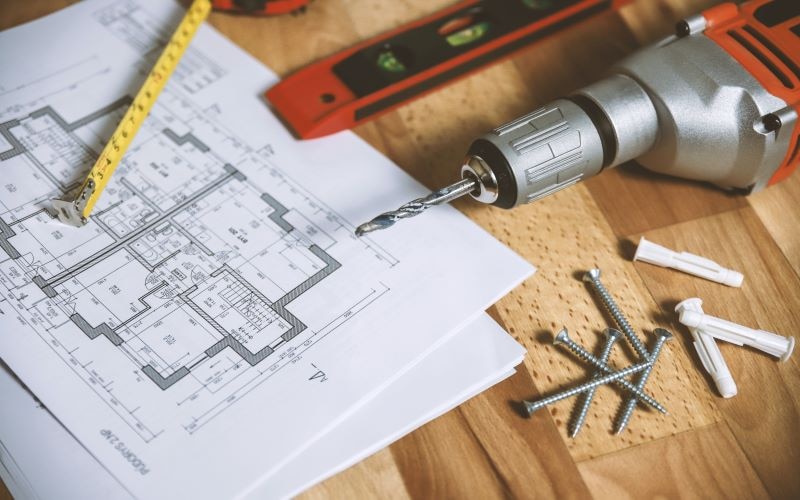
A wall mount will also require you to do a bit of drilling. Make sure you carefully measure out where you would like to mount your screen first. Then drill holes into the appropriate places and insert wall plugs into these using a hammer. Finally, you can screw the mounting plate on using a screwdriver.
Adjusting Your Monitor Mount
Once set up, you can go to town adjusting your mount to meet your individual needs. The most important point is to make sure that the top third of your screen is at eye level. Your screen should also be centred directly in front of you so that your neck doesn’t need to strain to see it.
Have you ever considered how far away your screen should be from you? The answer is about arm’s length. Make sure you don’t place any light sources shining directly at your monitor, as the glare can easily result in eye strain and painful headaches.
Where Does Flexispot Come In?
Flexispot knows how important it is for workers to be comfortable in the office. By maintaining good posture we can enhance our productivity and avoid injuries. By utilising a monitor mount, you can reduce stress and strain on your neck and eyes. Flexispot offers an exciting range of desk mounts, designed with your comfort at the forefront of our mind.


_20260602_cc9a7609.png)


